Step 1: Unpack your cabinet very carefully, making sure not to scratch its paintwork or foil finish.
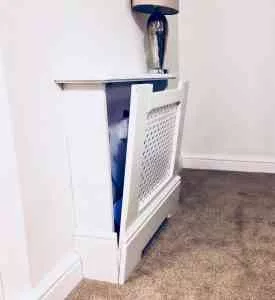
Step 2: Position the cabinet over the radiator as required and make two faint pencil marks on the wall against the left hand side of the cabinet – one towards the top of the cabinet, and one towards the bottom. If you’re unsure about marking the wall, use masking tape instead of a pencil.
Step 3: Next, make two faint pencil marks on the wall against the right hand side of the cabinet – one towards the top of the cabinet, and one towards the bottom.
Step 4: Remove the front of the cabinet by carefully pulling it from the top and sides of the unit, and put it to one side.
Step 5: Offer the top and sides of the cabinet up to the wall again, ensuring it aligns with the pencil marks you made in steps 2 and 3.
Step 6: Make a pencil mark on the wall through the brackets where the holes need to be drilled.
Step 7: Put the top and sides of the cabinet to one side.
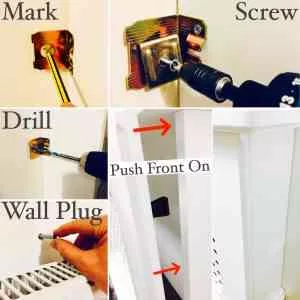
Step 8: Drill the holes and put wall plugs into the holes.
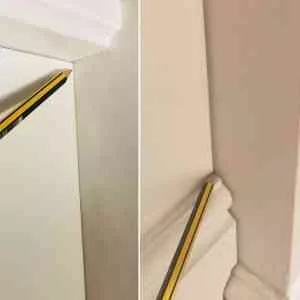
Step 9: Put the top and sides back in position and fix them in place using the square washer and screws provided.
Step 10: Once the top and sides of the cabinet are firmly fixed onto the wall, push the front of the cabinet back into place.
If you’re unsure about any of the above steps, please don’t hesitate to get in touch so we can offer further guidance. Alternatively, we can help you find skilled local tradespeople to install your radiator cabinets if preferred.