Check Radiator Cabinet for Level
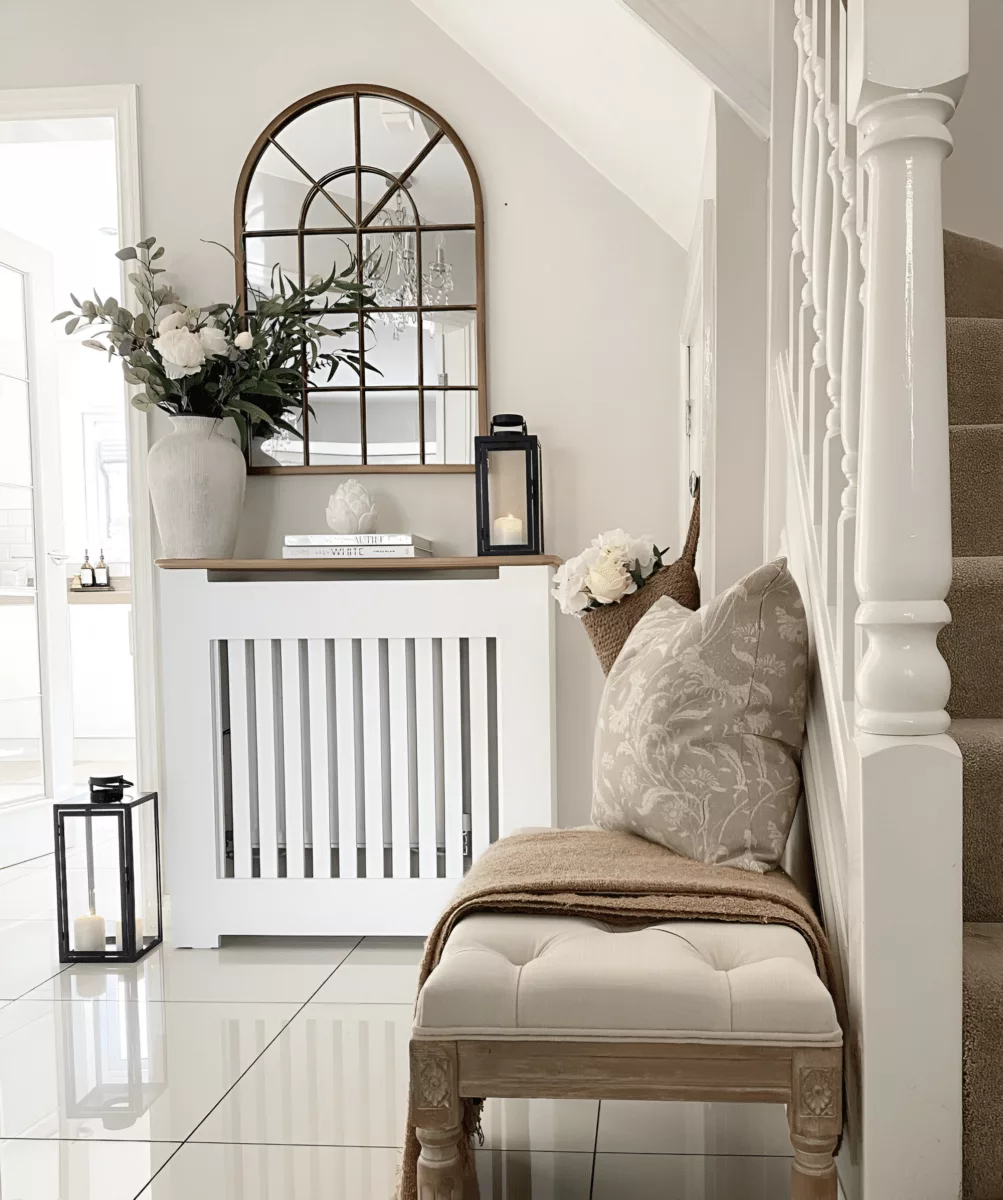
Unpack your cabinet very carefully, making sure not to scratch the paintwork or finish.
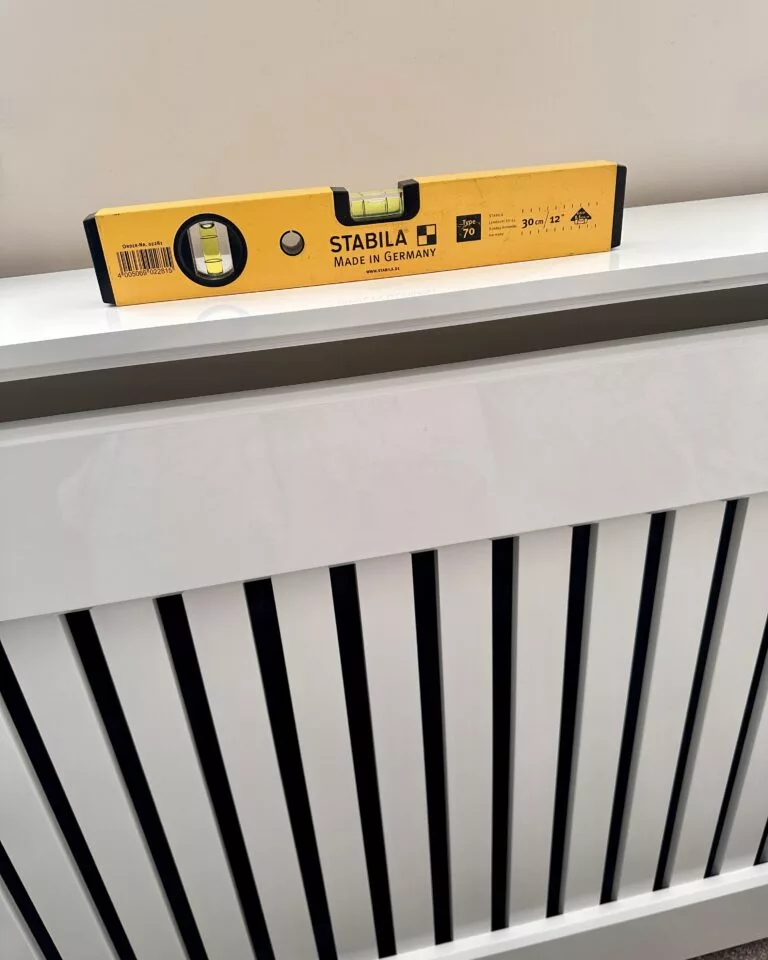
Place the radiator cover over the radiator and position as required. Use a spirit level to check the cabinet isn’t sloping to one side. If one side is higher than the other remove the plastic foot on the high side to correct the level.
If that hasn’t corrected the slope you may need to trim the leg on the high side to reduce the height on the high side.
It is critical the radiator cover is level before moving on to the next stage and marking out for the skirting board cutouts.
Plumbness Check
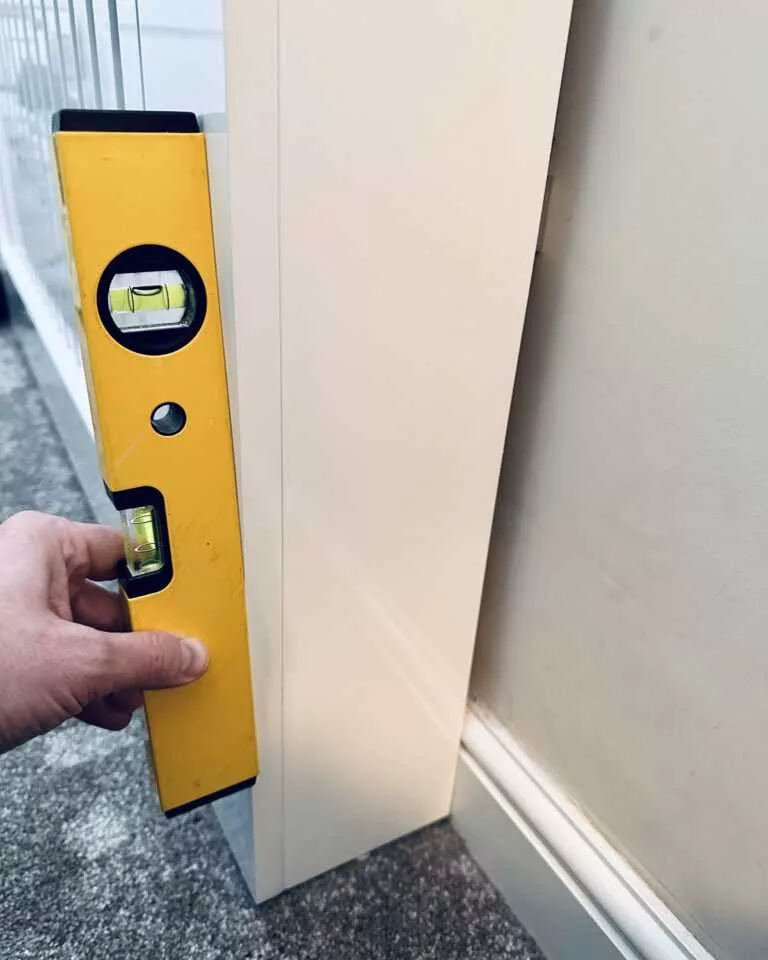
When you are sure the cabinet is level (left to right) the next step is to check it for plumb.
Push the cabinet back so it buts up against the skirting board. This creates a gap between the back of the cabinet and the wall. Plant a spirit level on the face of the cabinet to make sure the cabinet is plumb.
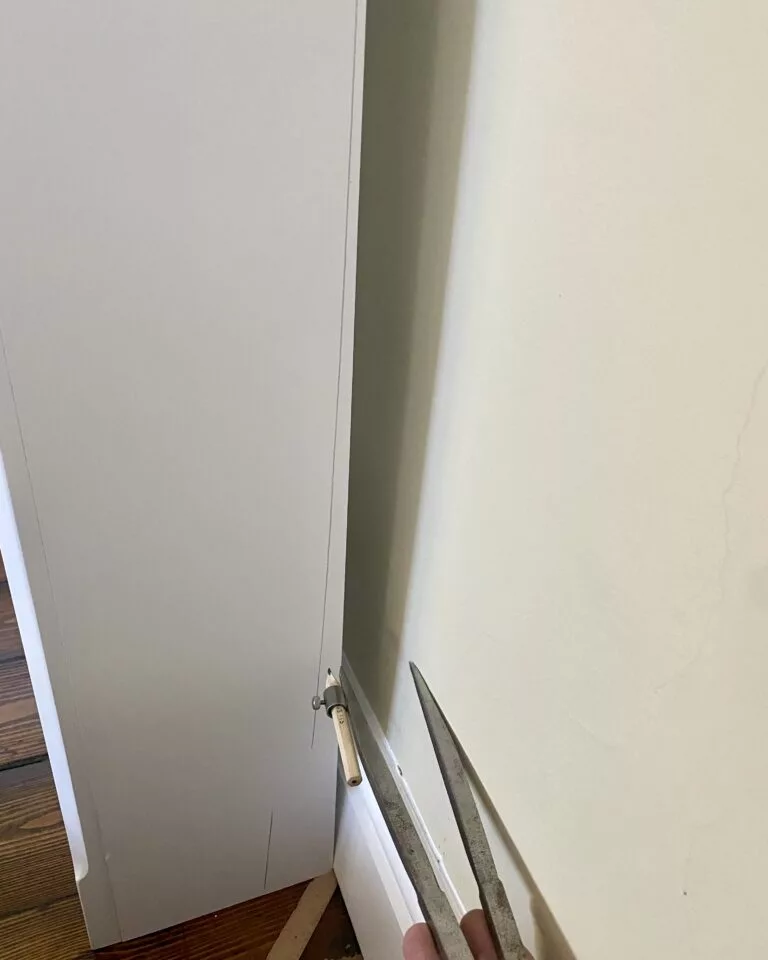
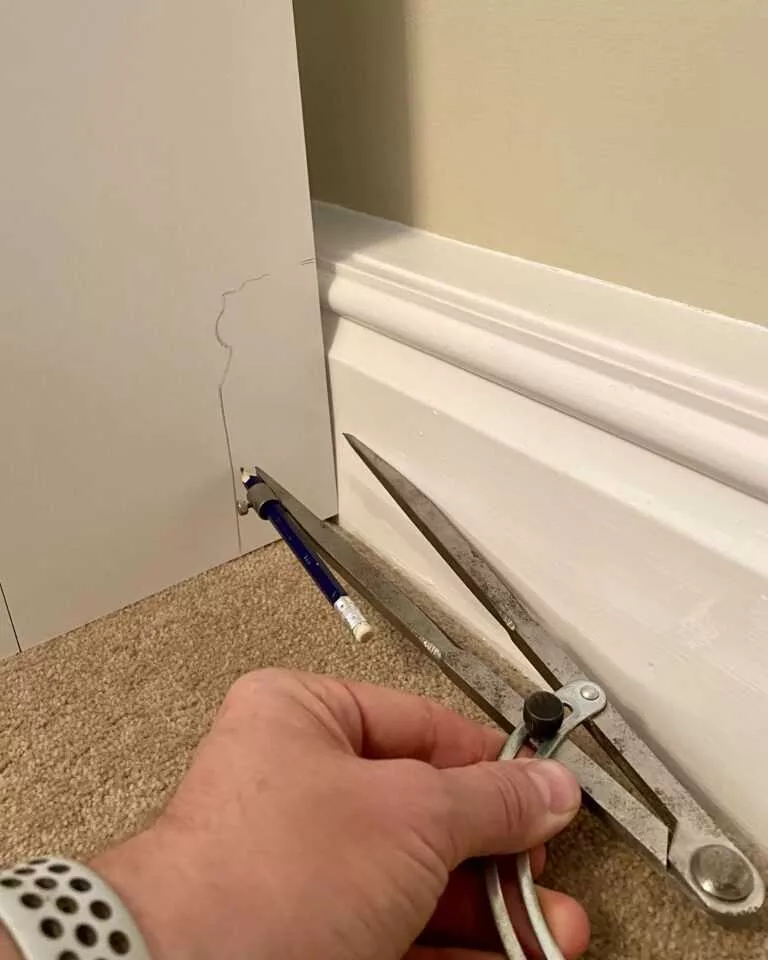
Take a compass or EasyScribe and open it to the widest part of the gap. Hold the cabinet still and mark the profile of the skirting board and any contours of the wall.
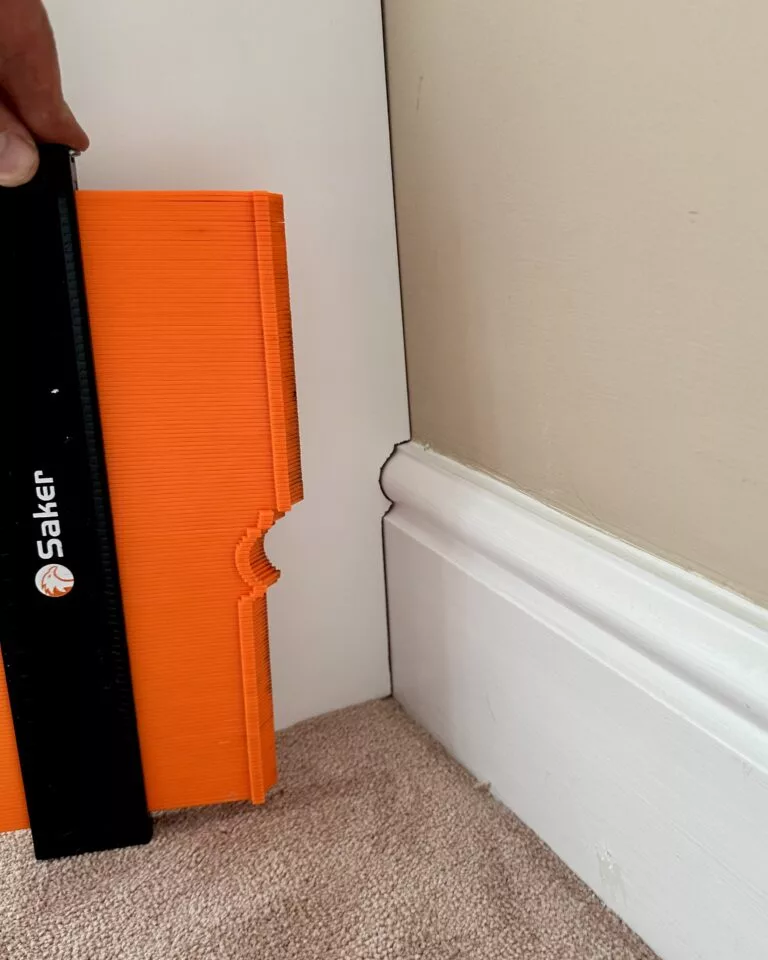

Use a Profile Gauge
Profile gauges are incredibly useful if you have intricate skirting board details to work with.
Offer the profile gauge upto the wall and press the pins into the shape of the skirting board to recreate the profile of the skirting board. Mark the shape you have created onto the side of the cabinet.
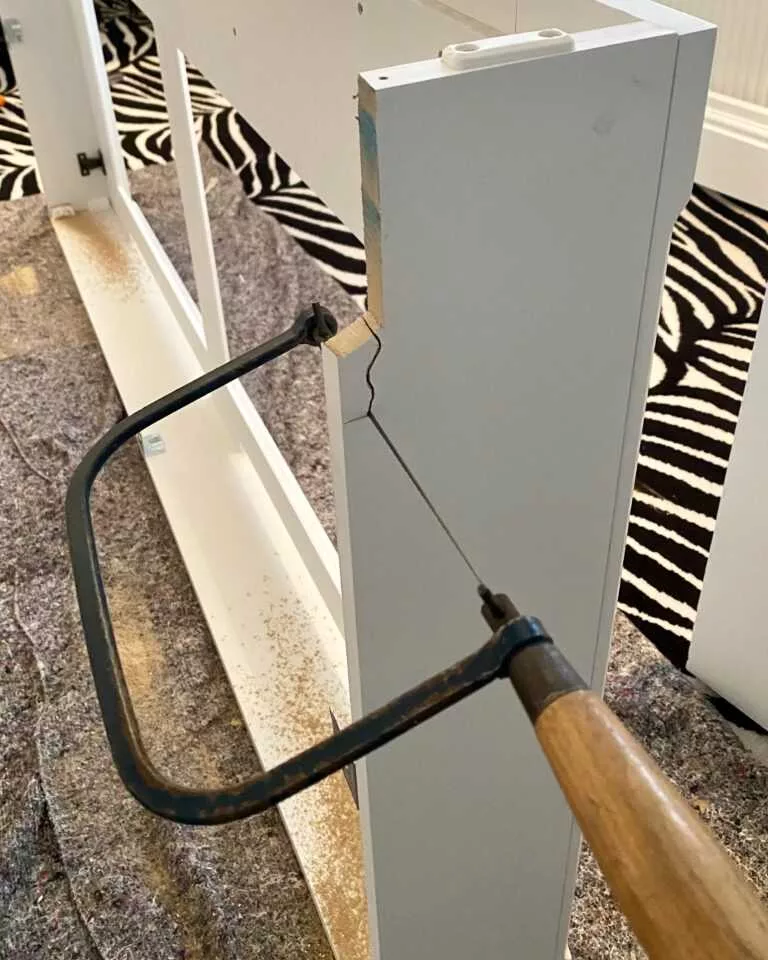
Turn the cabinet over now you have clearly marked the cut. Make sure you have floor protection down and there’s nothing on the floor that could damage the radiator cover or paint finish. Cut the straight part of the cut with a sharp hand saw.
Be sure to ‘back-cut’ so the side meets the wall at a slight point, this makes adjustments easier. Use a coping saw or jigsaw to cut the curved part of the skirting board profile.
Fix the Frame to the Wall
Now the skirting board cutouts have been completed, the radiator cover is ready to be fixed to the wall. Offer the radiator cabinet back up to the wall and position as required. Hold the cabinet still and open the front, by carefully pulling it away from the top and sides of the unit.
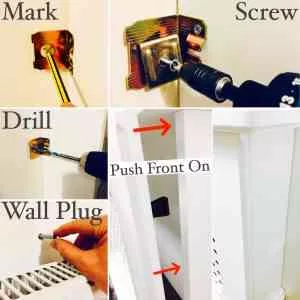
You can now reach in with a pencil and mark where the drill holes need to be. Once all the drill holes have been marked put the radiator cover to one side.
Begin drilling the holes for the wall plugs, making sure the drill holes are the correct size for the wall plugs you are using. Once the wall plugs have been inserted into the drill holes you can fix the radiator cover frame to the wall.
Pass the screw though the square washer and then screw into the wall plug loosely. Check the sides are straight with your spirit level, adjust accordingly before fixing tightly. Push the cabinet front back on and that’s installation complete.
Top tip
Inside the cabinet where the sides meet the wall use a grip adhesive to strengthen the contact with the wall. This will help prevent the radiator cover coming away from the wall over time. Also on the outside if the cabinet use a decorators caulk to fill any uneven gaps and provide a seamless join between the radiator cabinet and the wall.